


You saved an image from a website, the file ends in “.webp”, and the app you want to use won’t open it. Or a form only accepts JPEG and your image is a PNG. Problems caused by the file format of an image are more common than you’d think.
This guide shows how to convert between JPEG, PNG and WebP with the free Image Format Converter. Your images are converted inside your browser and never uploaded.
I built this after collecting images from the web for a presentation and finding that almost all of them were WebP, which Office didn’t handle well. Now I can convert any number of them at once on my own computer.
JPEG vs PNG vs WebP
These are the three formats you’ll run into most often:
- JPEG (.jpg): best for photos. Small files that open on virtually any device or app. Can’t store transparency
- PNG (.png): best for diagrams, logos and screenshots. Lossless and supports transparent backgrounds. Photos become large files
- WebP (.webp): a newer format made for the web. Smaller than JPEG at the same quality and supports transparency. Some older software can’t open it
A simple rule: JPEG when it has to work everywhere, PNG when you need transparency or crisp text, WebP when it’s going on a website.
What this tool does
- Converts between JPEG, PNG and WebP
- Converts a mix of formats to one format in a single batch
- Lets you adjust the quality for JPEG and WebP
- Downloads everything as a single ZIP
- Converts images inside your browser and never sends them to a server
How to use it
STEP 1. Choose your images
Open the Image Format Converter and choose the images to convert. You can select JPEGs, PNGs and WebPs together.
STEP 2. Pick the target format
Under Convert to, choose PNG, JPEG or WebP. For JPEG and WebP you can also adjust Quality. At the default of 90 it’s hard to see any difference from the original.
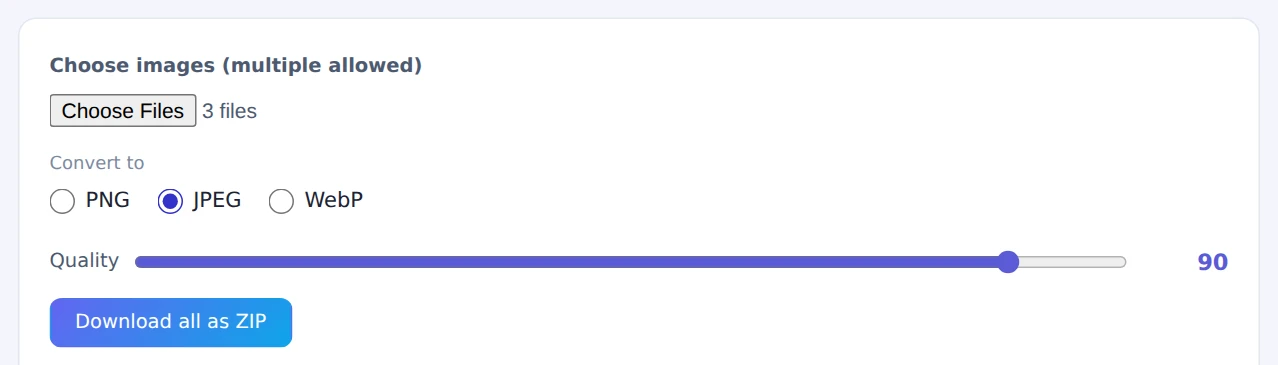
The default quality of 90 is fine for most uses
STEP 3. Save the results
The converted files appear in a list. Use each image’s Save button, or Download all as ZIP to save the whole batch.
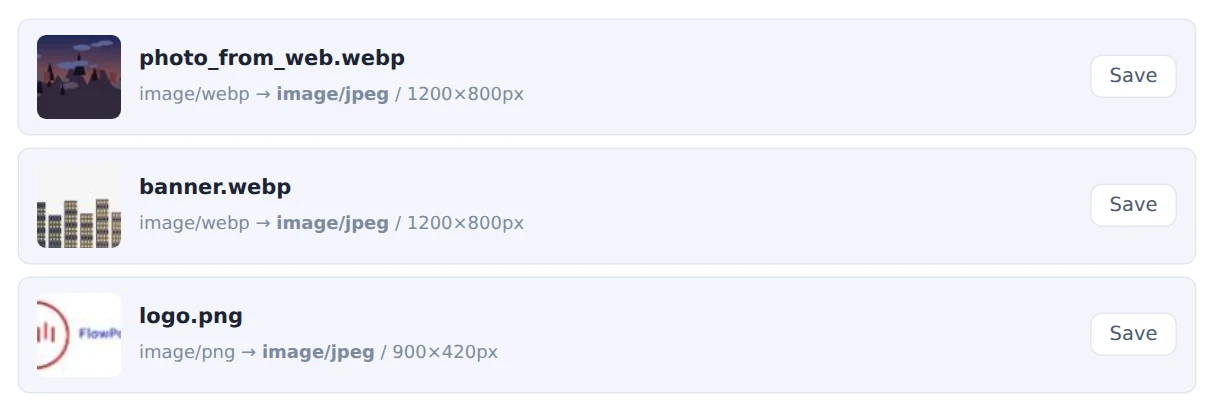
When a PNG with a transparent background is converted to JPEG, the transparent areas turn white. Keep logos and other cut-out images as PNG or WebP if you need the transparency.
When it comes in handy
- Using WebP images from the web: turn them into JPEG or PNG for Word, PowerPoint or older editors
- Meeting upload requirements: submit to forms that accept “JPEG only” or “PNG only”
- Speeding up a website: convert photos to WebP so pages load faster
- Tidying up assets: bring a folder of mixed formats into a single format
FAQ
Why do images save as WebP when I download them?
Many websites serve images as WebP so their pages load faster. When you right-click and “Save image as”, you get the WebP version the site delivered, even if the original was a JPEG or PNG.
Can’t I just rename the file to “.jpg”?
No. The extension is only part of the file name; it doesn’t change what’s inside. Some apps may appear to open it, but others will throw an error, and upload forms often reject it. To change the format you have to actually convert the image, as this tool does.
Does converting JPEG to PNG improve quality?
No. Detail lost when the JPEG was saved can’t be recovered, so converting to PNG only makes the file bigger. If quality matters, convert from the best original you have (a PNG or the camera original).
Things to keep in mind
- Transparency becomes white in JPEG: choose PNG or WebP to keep it
- HEIC may not load in every browser: for iPhone photos (HEIC), use the HEIC Converter
- Need smaller files too? The Image Resizer & Compressor can resize and change the format in one go
Summary
When an image won’t open or won’t upload, changing its format often fixes it. The Image Format Converter converts between JPEG, PNG and WebP in bulk, without uploading anything.
Start with one of those WebP images you saved from the web, and turn it into a JPEG.
